DIY Dollhouse: Outdoor Deck and Vertical Garden
Create a beautiful DIY Dollhouse with an outdoor garden area for your Barbie or Blythe dolls with everyday items you can find around your home – no cutting or glueing required.
The perfect place for your dolls to relax or entertain.
We’re also recycling plastic toy packaging so that’s a bonus.
Watch the video for a quick overview and then follow the more detailed instructions below.
Step 1: DIY Dollhouse Garden Deck base
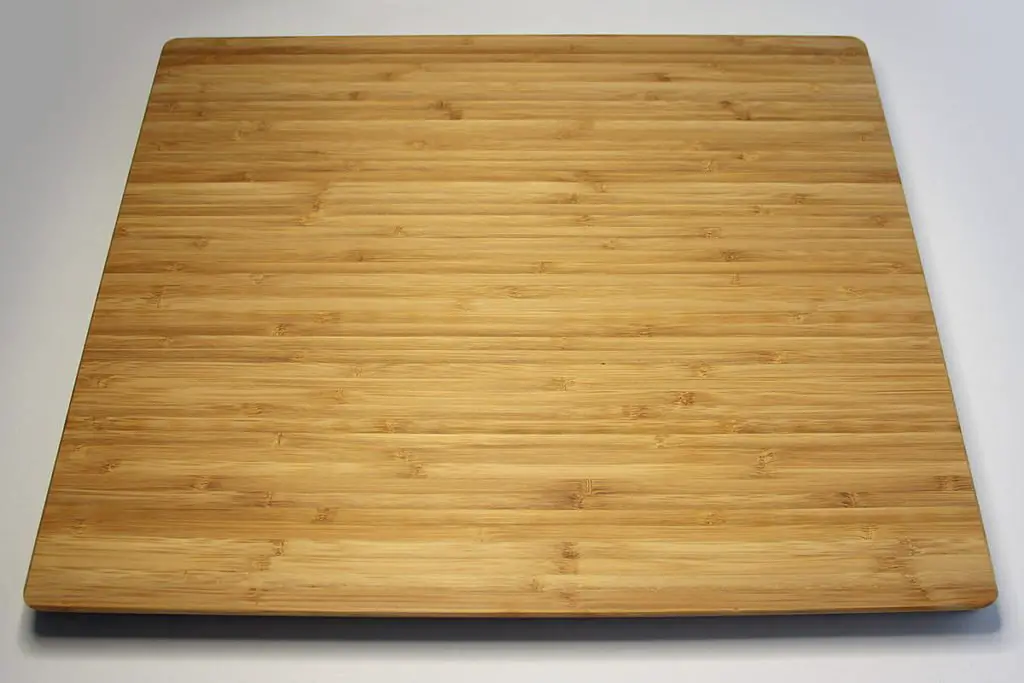
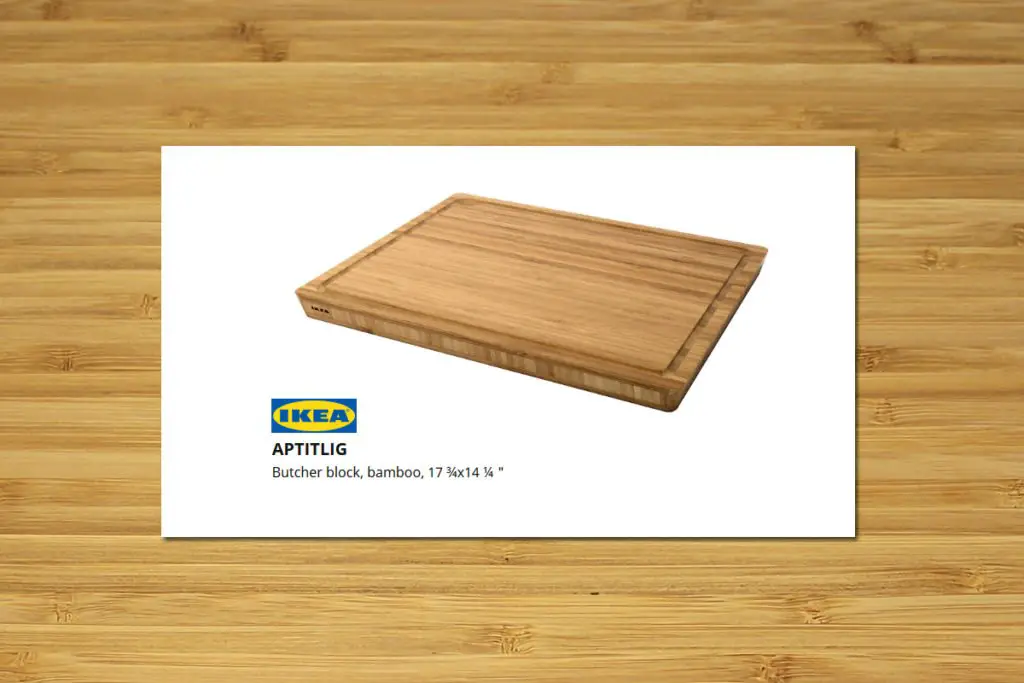
For the floor base I used an Ikea Aptitlig bamboo chopping board, turned upside down so it doesn’t have the grooves around the edges.
I really like the grain of the wood, resembling miniature floor boards.
It’s a really thick heavy board, almost square in dimensions. The edges are slanted though so you will see a gap when you push something up against it. I call these gaps my drainage holes. lol!
Step 2: Adding Greenery
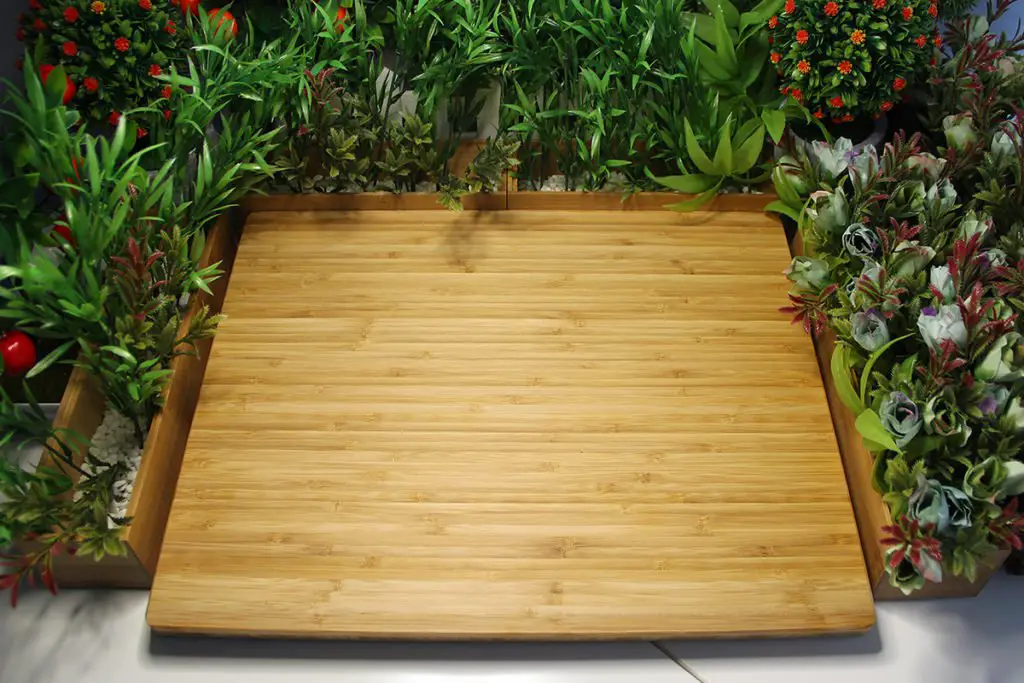
Next I added lots and lots of plants in various colours and textures to resemble a real garden. Most of these were purchased from Dollar King in Australia, similar to Dollar Tree in the US. Some came in large bunches and I removed individual branches to create standalone plants.
In an ideal world I’d be growing miniature REAL plants for my Barbie outdoor area but my thumbs aren’t that green. I have it on the list for a future project though as it would be so much better not to use all this plastic.
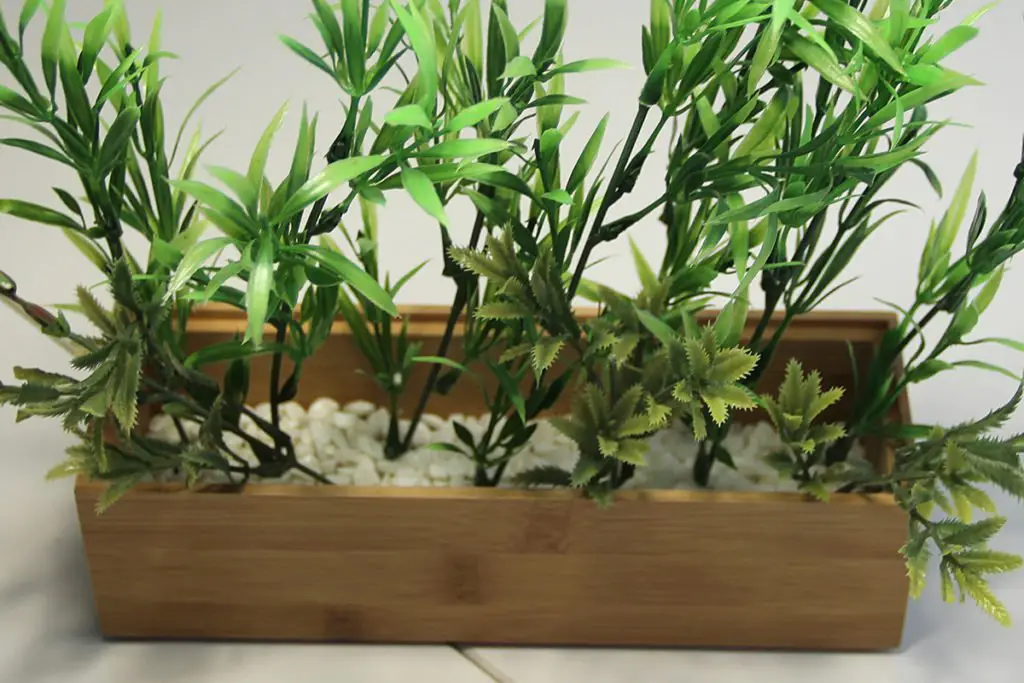
Each plant is placed in a bamboo box, I think they are sold as cutlery boxes or drawer inserts. I bought mine from Target Australia.
You could also use recycled cardboard boxes painted in wood finish or plain brown to match the base board as not much of the wood is actually visible once they are pushed up against the chopping board.
To help the plants stand upright I secured them to the base of the box with Blue Tac and then added white aquarium gravel to give them more support. You can also buy this from Dollar King.
Step 3: DIY Dollhouse Vertical Garden
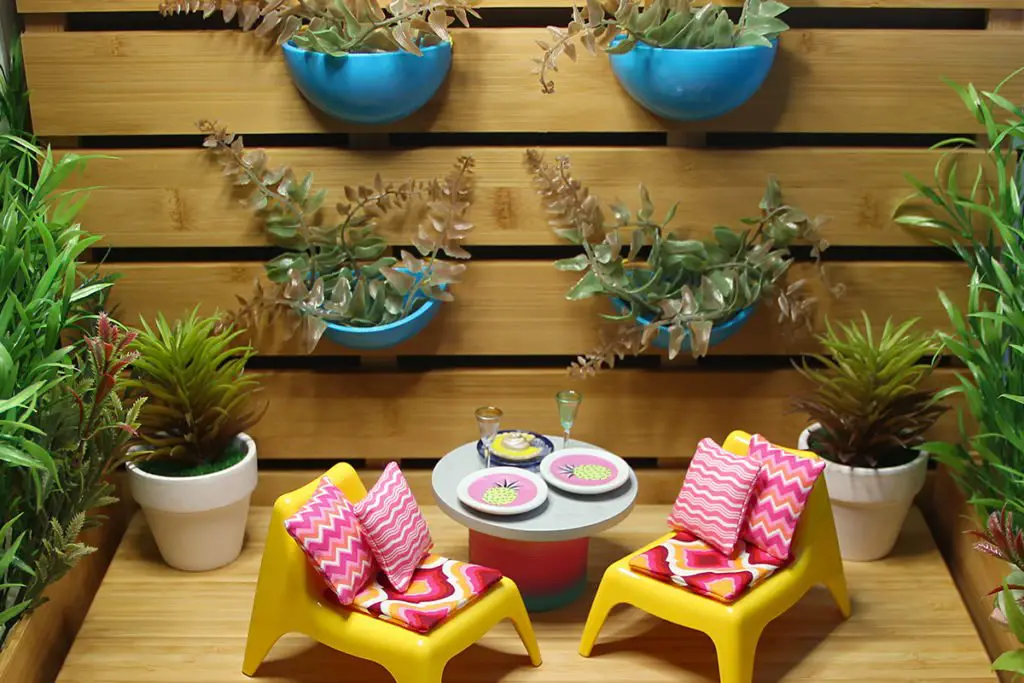
For a perfectly modern DIY dollhouse, I added a vertical garden to our outdoor area.
It’s really useful for photos – it creates height and provides an interesting background.
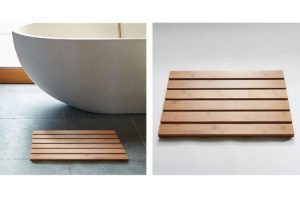
For the vertical garden support, I used a bamboo shower mat from Target Australia.
For the ‘planters’ I recycled some toy packaging. These are from the Zuru 5 surprise blind boxes. The toys inside were pretty crap so I’m glad I got some use out of them!
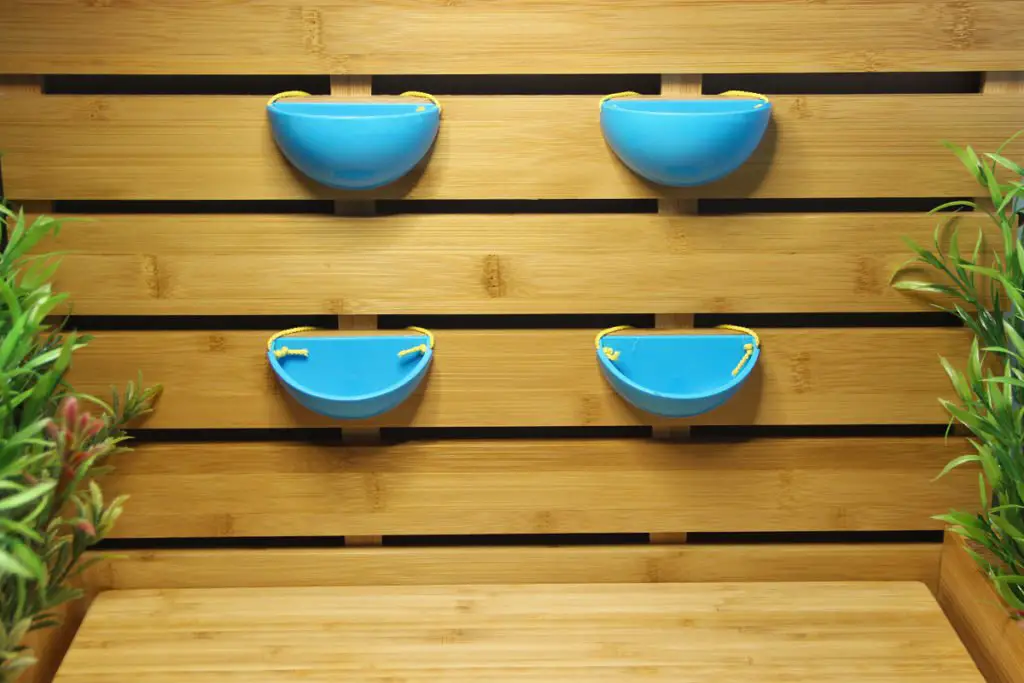
You’ll notice there are two different sized wedges … the Zuru 5 pack comes with 2 of the larger ones, 2 of the smaller, more open wedges. So we have a spare for the next garden.
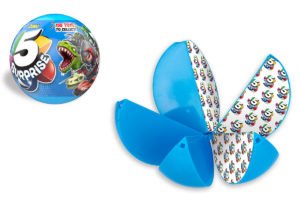
To remove the barcode from the plastic I used nail polish remover. Don’t use acetone as it melts the plastic (speaking from experience here…eek).
Attach the planters with cord and weave through the beam at the rear. To make sure they are level I used some Blue Tac to secure the cord at the right tension.
Fill them with plants (real or artificial) and Blue Tac the plants in place, if needed.
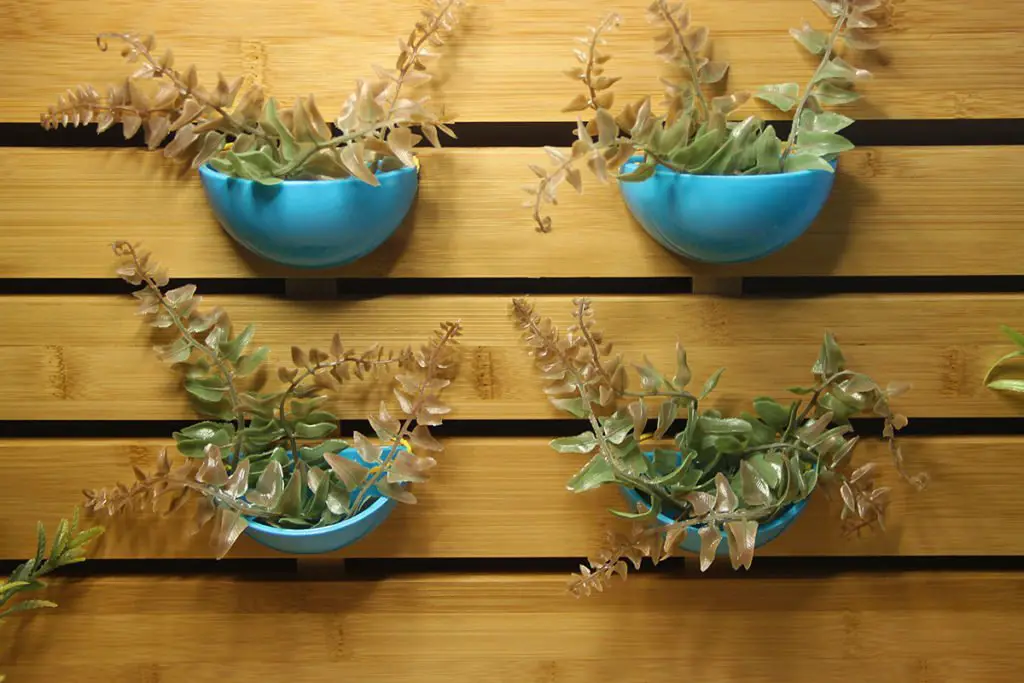
Step 4: Decorate
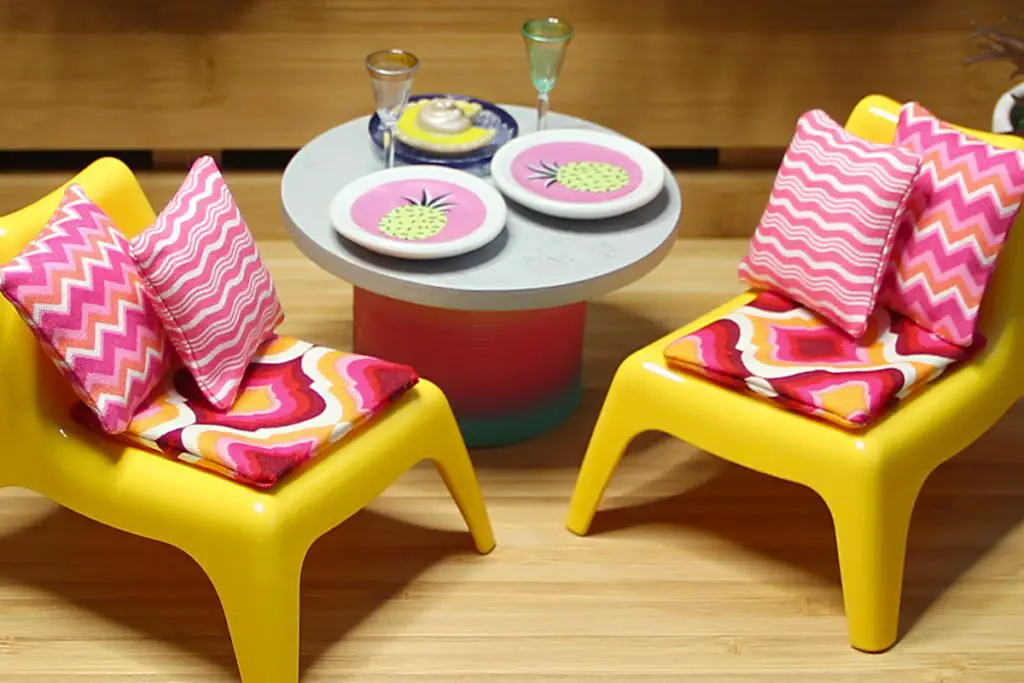
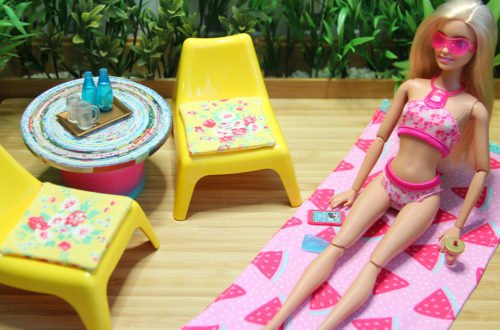
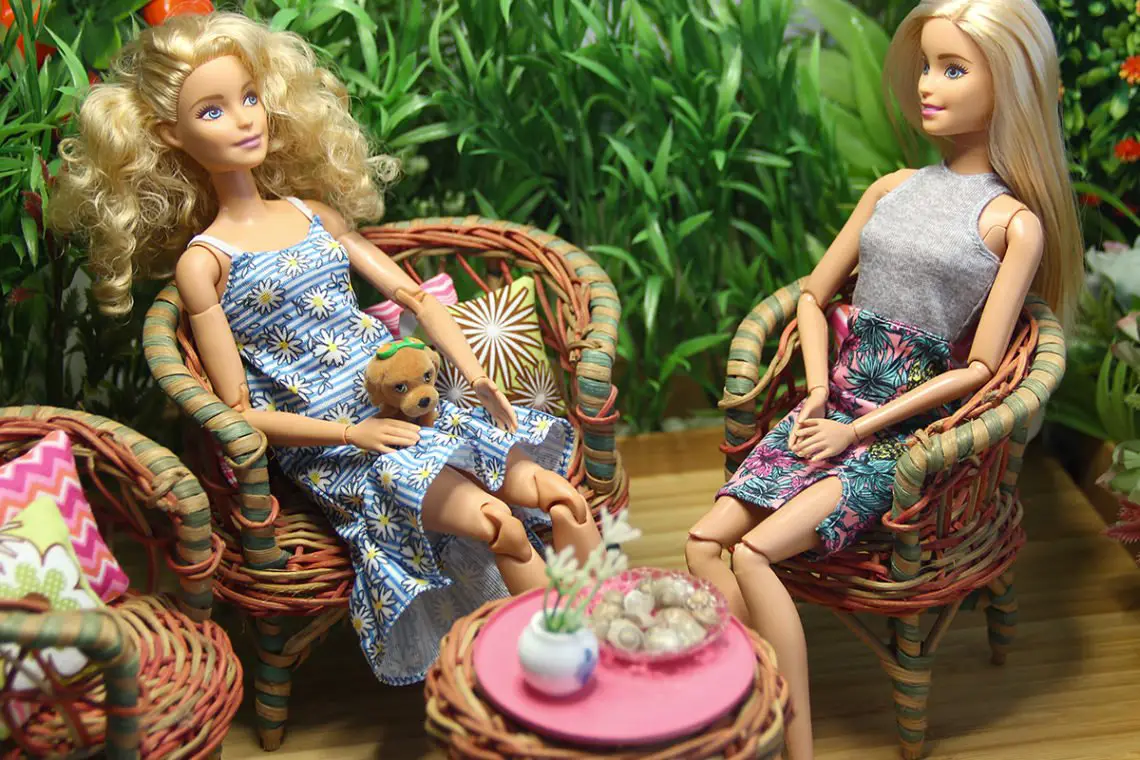
I decorated my outdoor garden with the Ikea Huset yellow chairs, some home made chair pads and cushions. I love how bright it all is.
The tableware complements the yellow theme with pineapple plates and a lemon meringue pie for afternoon tea (or maybe it’s for dessert).
Do you like my table creation? It’s a coaster on top, plastic slinky on the bottom. The slinky was sold taped in place so I just left the tape there and use it as a table base.
I love using found things for tables in the DIY dollhouse…there aren’t that many available to buy so we often have to make our own.
Step 5: Entertain and Relax
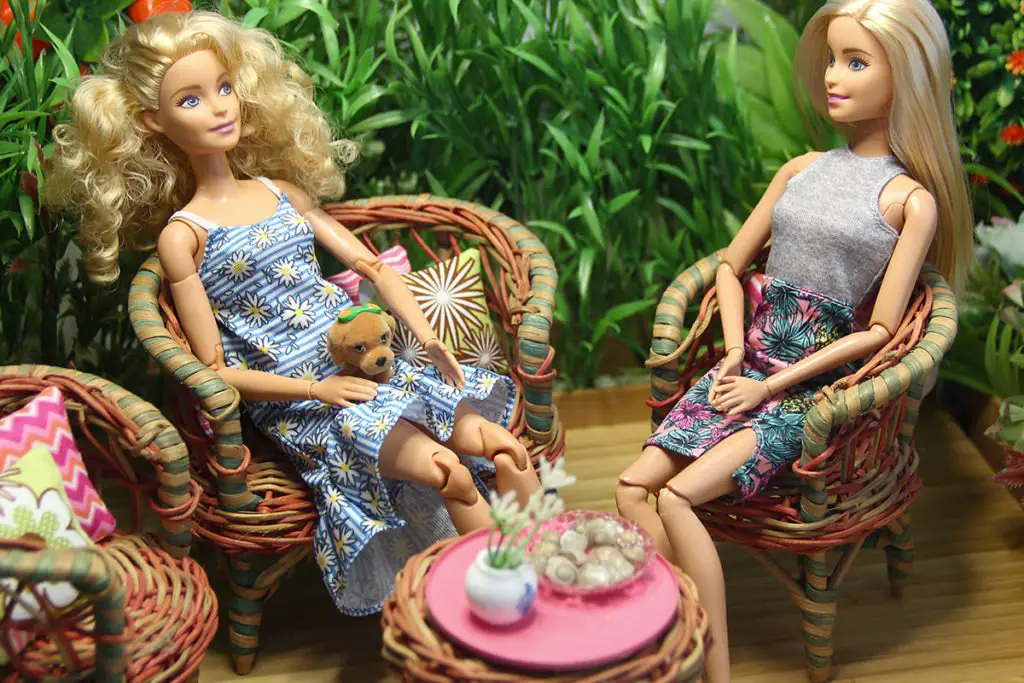
Now it’s time to enjoy our DIY Dollhouse Outdoor Deck and Garden area. Dress some Barbies, pull out the re-ment and capture the fun.
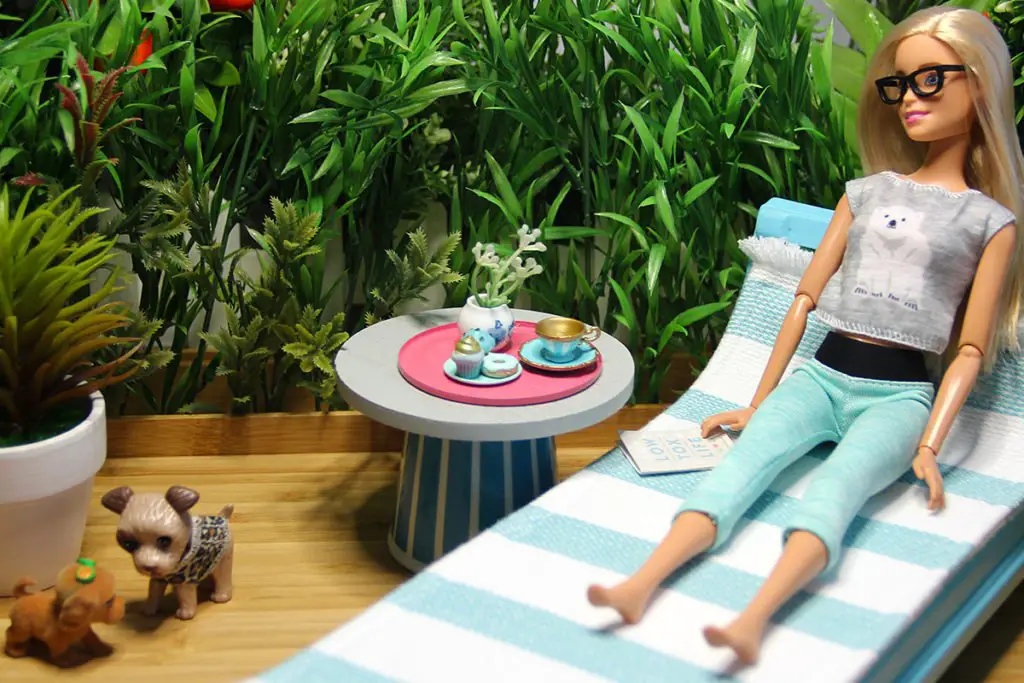
Check out my post on making beach towels for Barbie – perfect to incorporate into your DIY dollhouse scenes.


