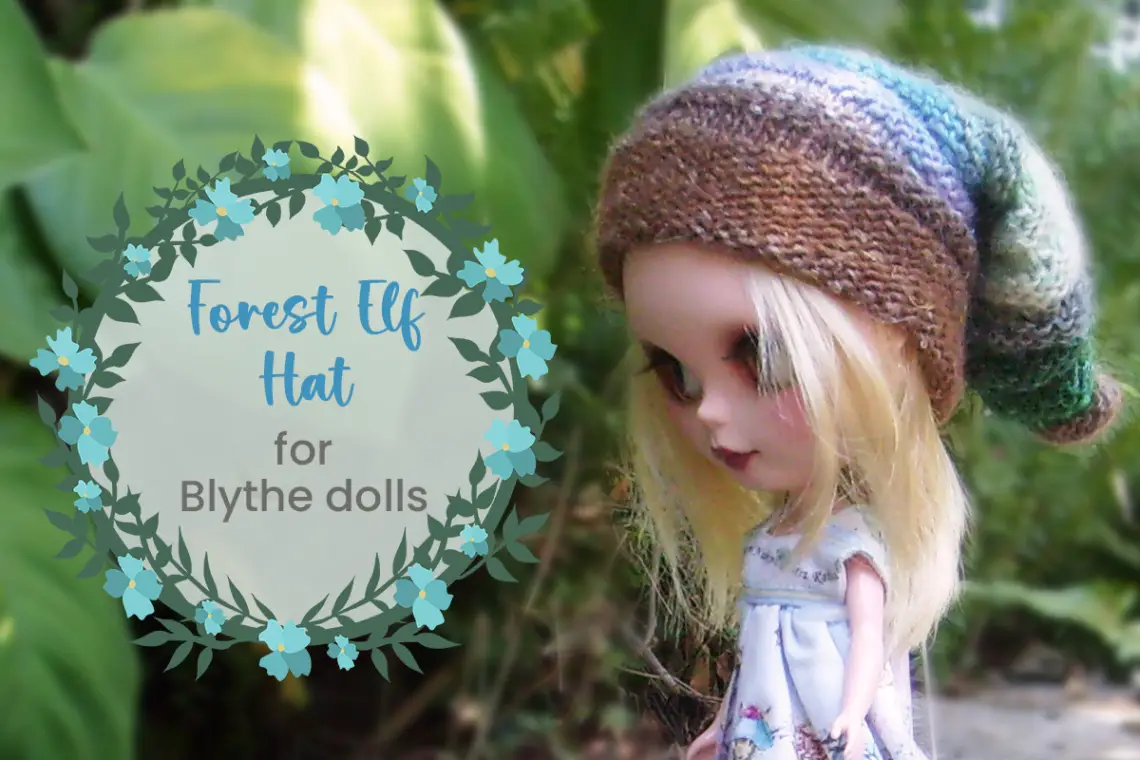
Forest Elf Blythe doll hat – free knitting pattern
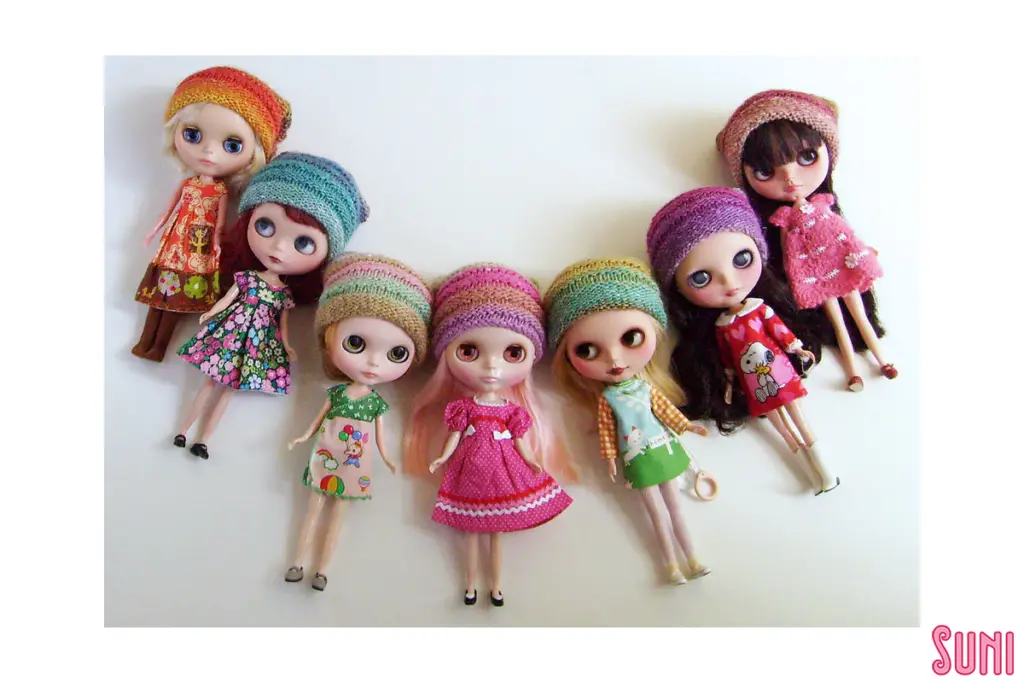
This cute Forest Elf Blythe doll hat is easy to knit using basic knit and purl stitches in ‘welted’ bands to create texture and harmony between the colour changes. You can also knit it in solid colours of course. I love using Noro Japanese hand-dyed yarn to create unique combinations of colours.
Skill Level
Beginner
Materials you’ll need
- One x 50g ball of Noro Silk Garden Lite (45% silk, 45% kid mohair, 10% lamb’s wool) or similar weight yarn of your choice
- One pair of 4mm (US 6) knitting needles
- Tapestry needle for weaving in ends.
Notes
The hat is knit flat in one piece with a back seam.
I love using Noro hand-dyed yarns for these hats but it’s not always easy to find. You can substitute it for another hand-dyed yarn with long colour changes, or even manually change yarn colours with solid yarns, perhaps incorporating the marling technique to blend them.
Gauge
Refer to the published gauge of the Noro yarn to find suitable substitutes:
- Noro Silk Garden Lite: 22 stitches/30 rows per 10cm using 4mm needles
Some substitutes suggested by yarnsub.com are: Noro Silk Garden, Noro Silk Garden Sock Solo, Malabrigo Silky Merino, Manos del Uruguay Silky Blend.
Instructions for the Forest Elf Blythe doll hat
Welted Pattern:
Row 1: knit
Row 2: purl
Row 3: knit
Row 4: knit
Row 5: purl
Row 6: knit
Pattern starts here
Cast on 50 sts with 4mm needles. I use the Cable Cast On Method, see my video demonstration here
Rows 1, 3, 5, 7, 9: knit
Row 2, 4, 6, 8: purl
Then work 5 repeats of the Welted Pattern above.
Now we’ll start decreasing stitches to give the hat it’s elfish shape.
Row 1: knit
Row 2: purl
Row 3: k6, k2tog, *k5, k2tog; rep from * to last 7 sts, k7
Row 4: knit
Row 5: purl
Row 6: knit
Row 7: knit
Row 8: purl
Row 9: k3, k2tog, *k4, k2tog; rep from * to last 3 sts, k3
Row 10: knit
Row 11: purl
Row 12: knit
Row 13: knit
Row 14: purl
Row 15: k2, k2tog, *k3, k2tog; rep from * to last 3 sts, k3
Row 16: knit
Row 17: purl
Row 18: knit
Row 19: knit
Row 20: purl
Row 21: *k2, k2tog; rep from * to last 3 sts, k3
Row 22: knit
Row 23: purl
Row 24: knit
Row 25: knit
Row 26: purl
Row 27: *k2, k2tog; rep from * to last 3 sts, k3
Row 28: knit
Row 29: purl
Row 30: knit
Row 31: knit
Row 32: purl
Row 33: *k2, k2tog; rep from * to last 2 sts, k2
Row 34: knit
Row 35: purl
Row 36: knit
Cut a long tail, and thread it through the remaining stitches twice using the tapestry wool needle.
Sew back seam and weave in ends.
Blocking
I didn’t need to block my hat but if you want to, immerse it in cold water and squeeze gently. Then block over a short tumbler glass, shape the slouchie tail, and let dry.
Copyright
This design is the copyright of Tracey Marsden. You can sell handmade, finished items based on this pattern however mass production of finished items is not permitted. The pattern itself is not to be sold. Please let me know if you do sell items based on the pattern and I will try to promote your store. Likewise, please acknowledge and link to me as the pattern source. Don’t hesitate to contact me if you have any questions.
Abbreviations used in the Forest Elf Hat for Blythe dolls pattern
BO = Bind off. Knit or purl two stitches as normal and lift the first stitch over the second.
Continue in this way until all the stitches on the left hand needle have been knitted and only
one stitch remains on the right hand needle. Cut thread and slip through remaining stitch.
CO = Cast on. I use the Cable Cast On Method, see my video demonstration here but you could also use the Long-Tail Cast On Method.
K = Knit
K2 tog = knit 2 stitches together
P = Purl
I hope you enjoy making your own Forest Elf Hat for your Blythe dolls and I look forward to seeing your creations. Don’t forget to tag me on Instagram @sunidoll and use hashtag #sunidoll


One Comment
Pingback: