Barbie Dream House: DIY Beach Towels – Free Pattern
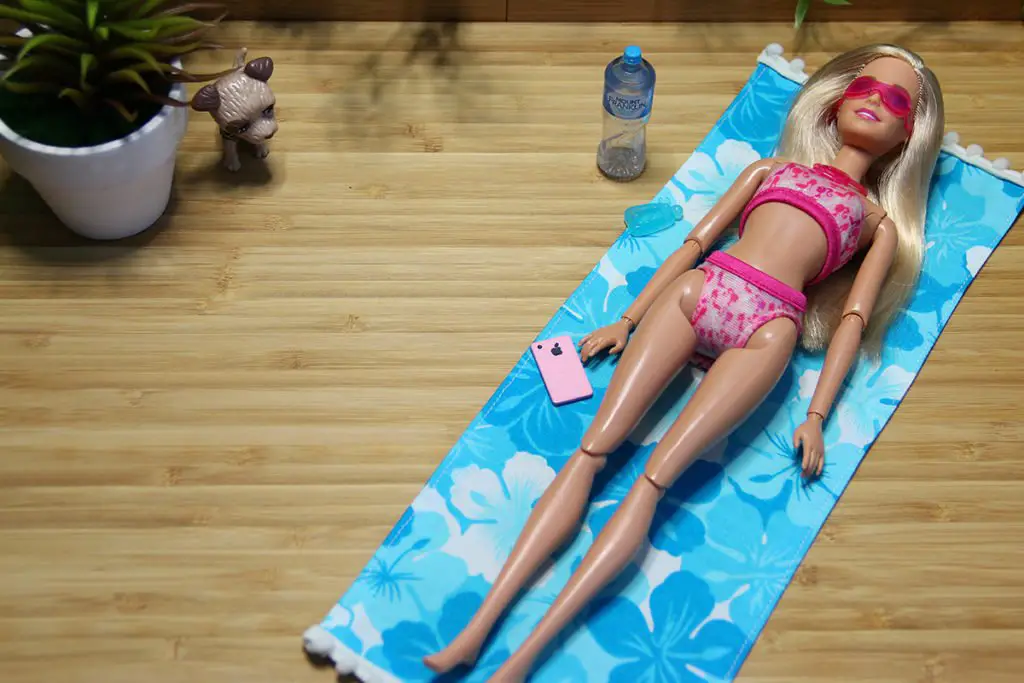
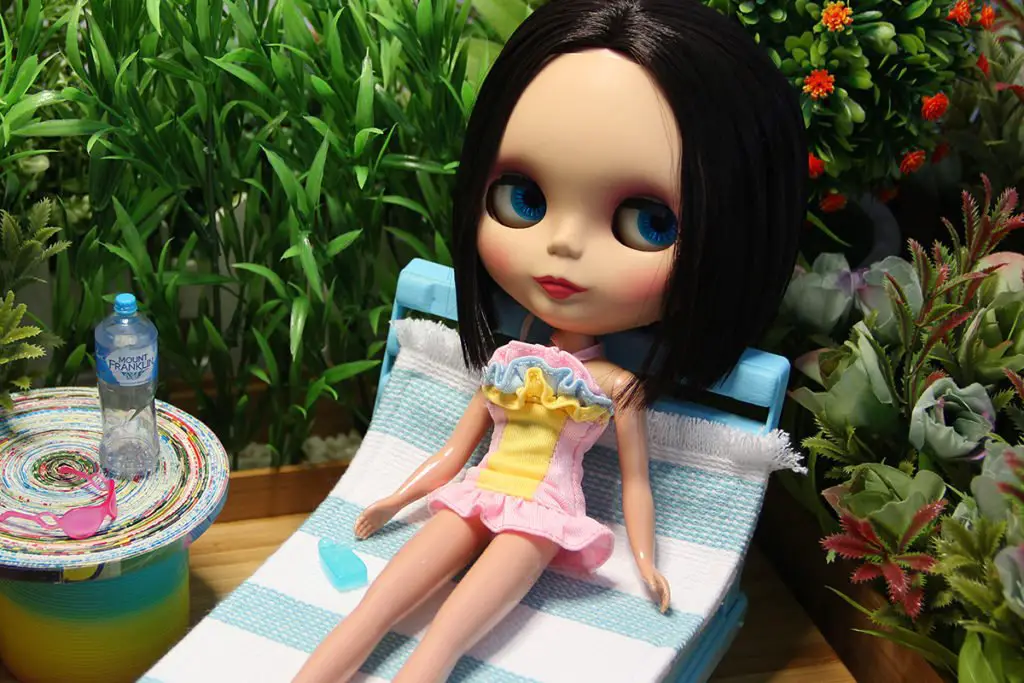
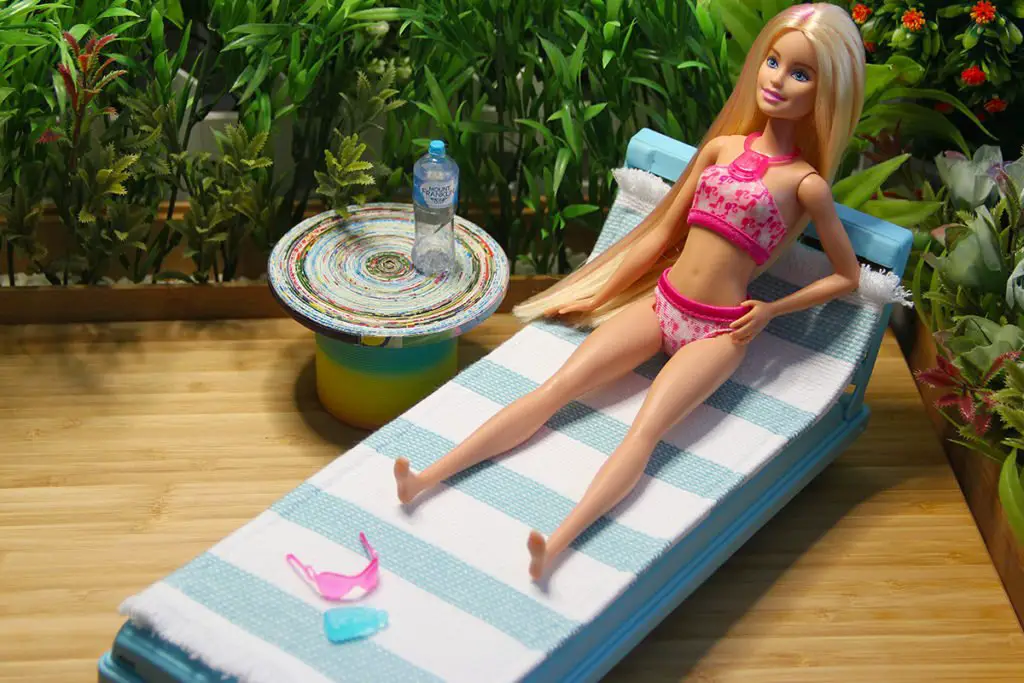
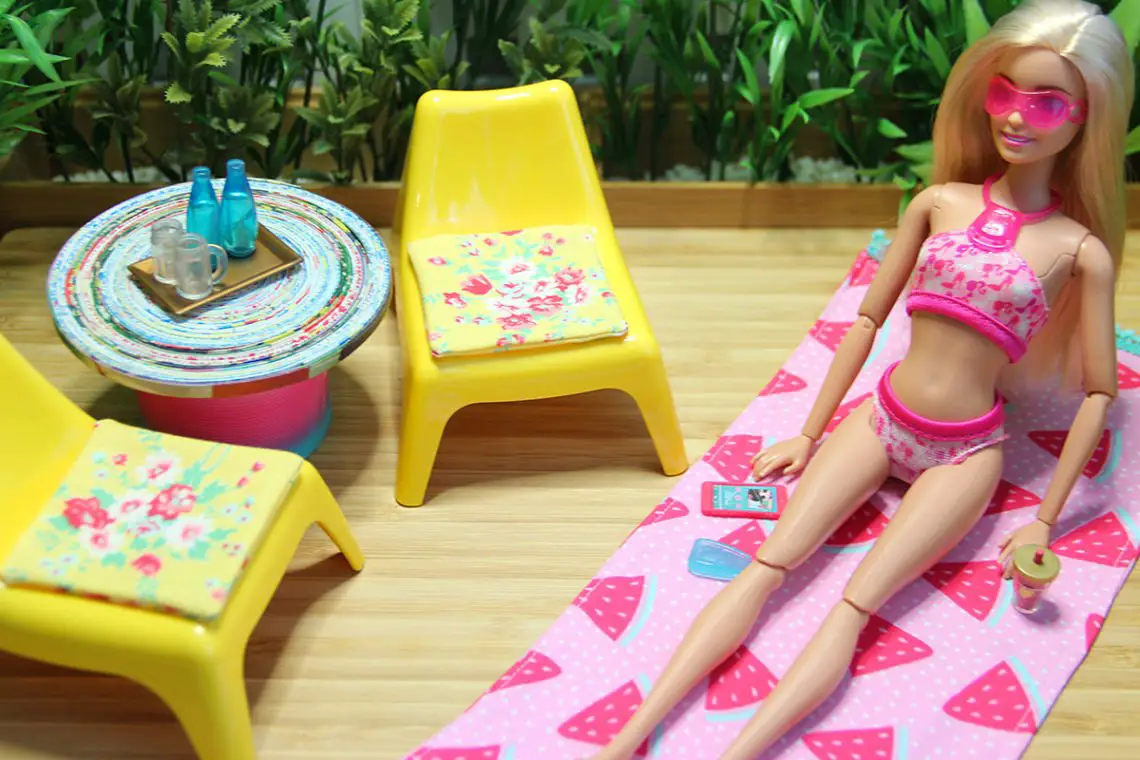
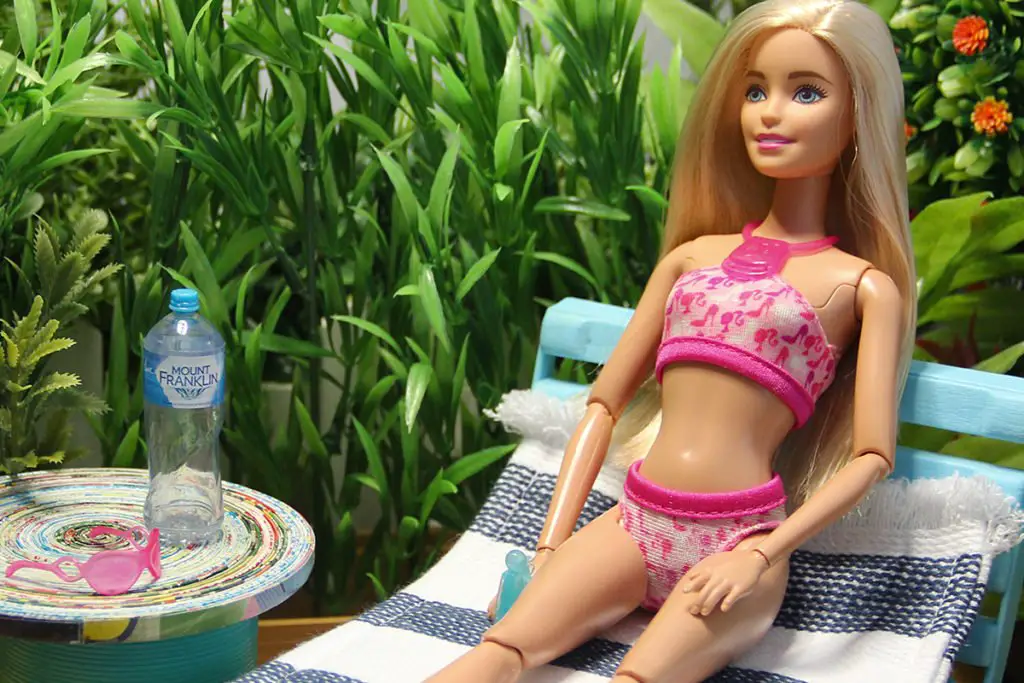
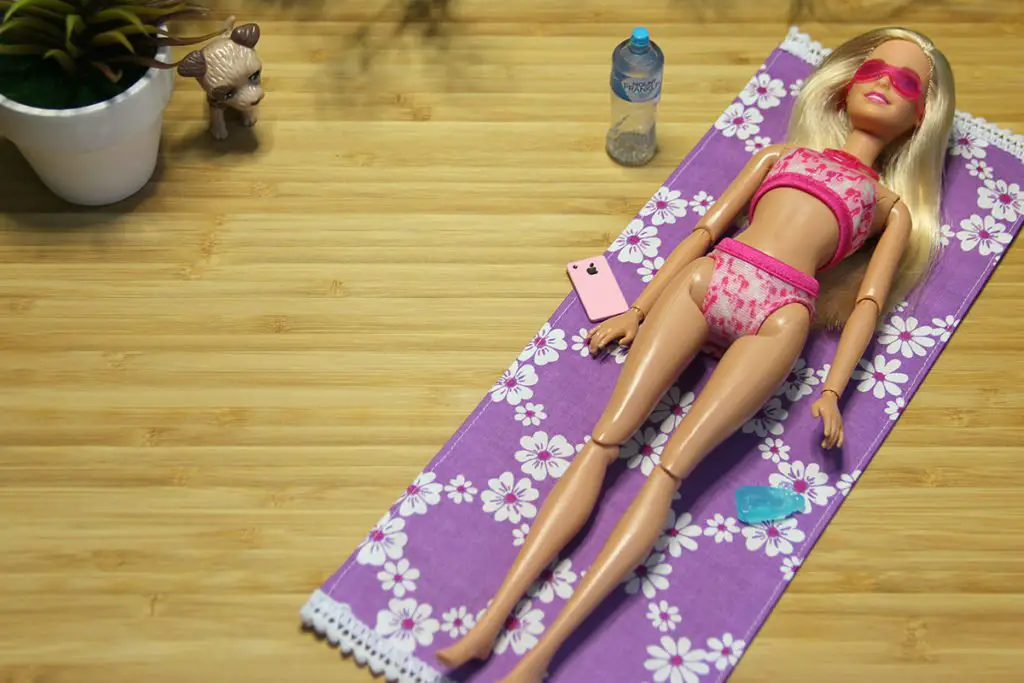
Create the perfect Barbie dream house or beach house diorama with these easy-to-sew DIY beach towels for Barbie, Blythe and other 11 1/2″ fashion dolls.
Make them from recycled fabrics, old kids’ clothes, or splurge on some new fabrics from your stash!
It’s always beach weather in Malibu so I hope you will enjoy making these for your dollhouse. If your Barbies don’t live near the beach, check out my DIY Barbie pool free printables.
Watch the video for a quick overview and then follow the detailed instructions below.
Step 1: Gather your materials
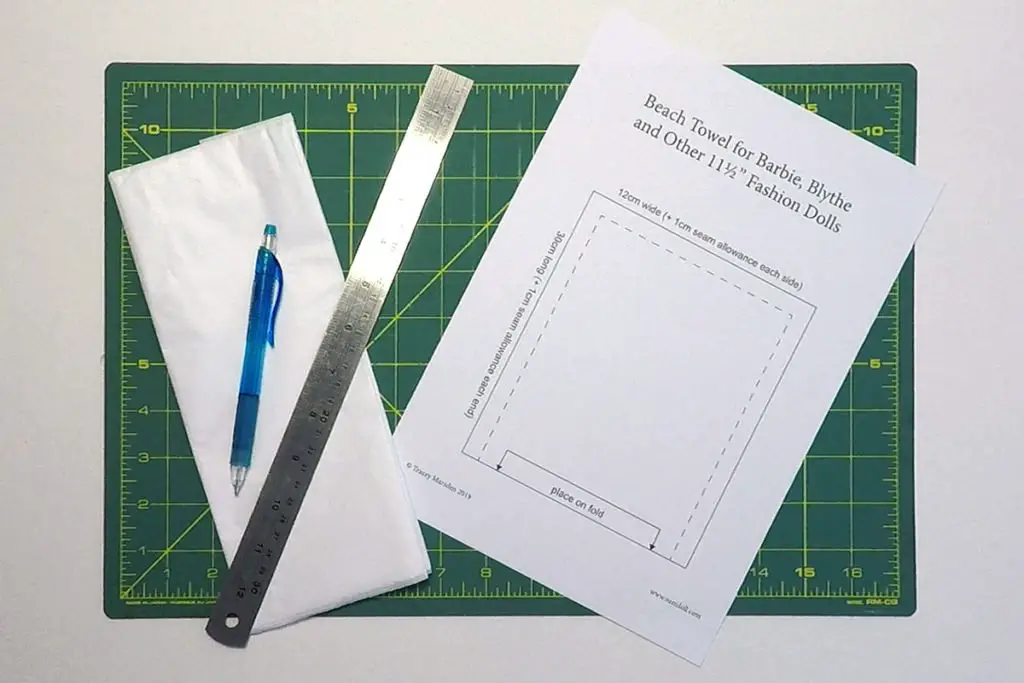
What you’ll need:
- pattern – download the free pattern here
- tissue paper
- household scissors for cutting tissue paper
- sharp fabric scissors
- a lead pencil for tracing pattern
- a ruler
- pins
- thread for sewing
- trims and threads for finishing (optional – see Step 8)
Step 2: Prepare your pattern
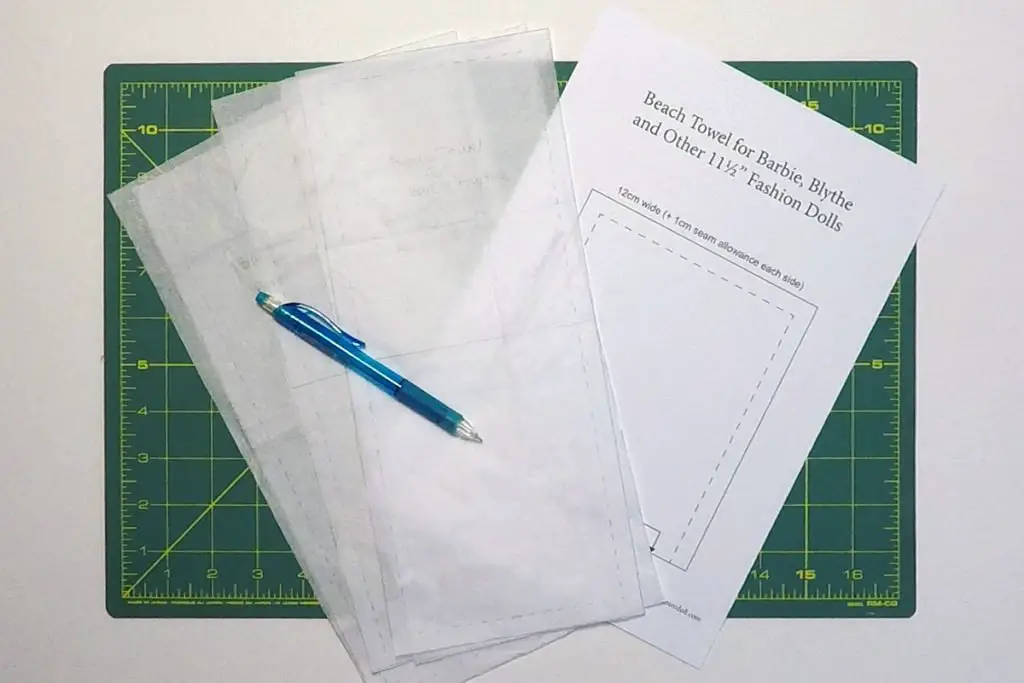
Trace the pattern onto the tissue paper using your pencil and ruler (to ensure straight lines). I created more than one pattern so I can make them in batches.
Step 3: Choose your fabrics
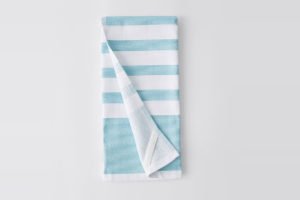
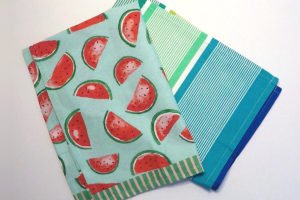
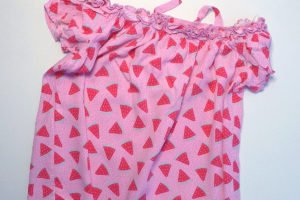
I’ve used tea towels and old kids’ clothes for my beach towels. It’s a good way to recycle fabrics. Make sure to pre-wash and iron your fabrics before sewing in case they shrink.
Step 4: Pin the pattern to your fabric
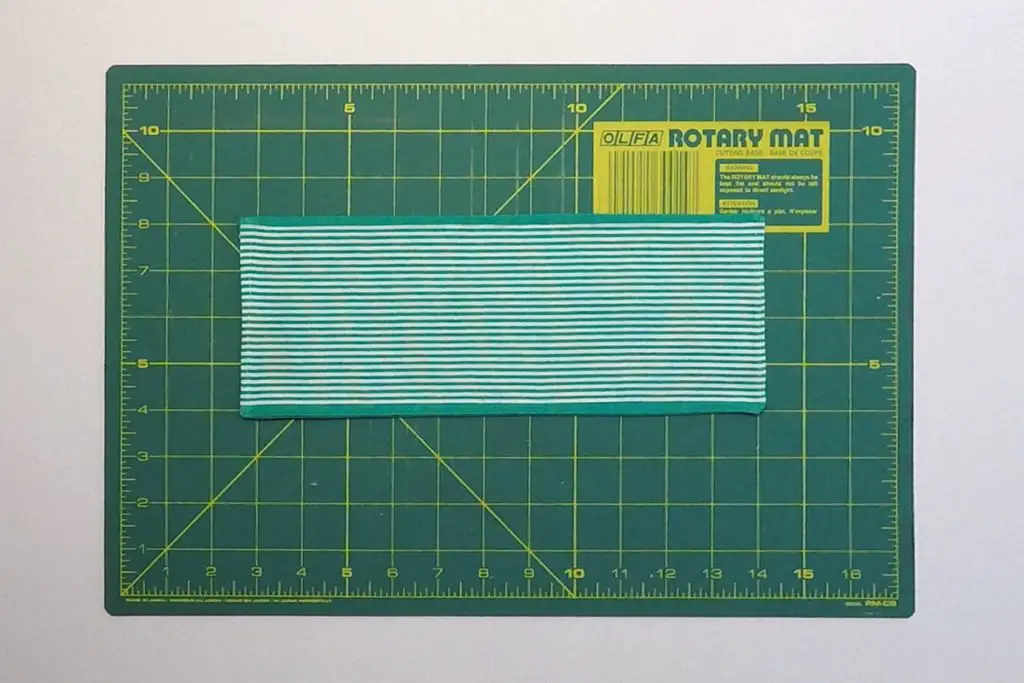
Pin your tissue pattern piece to your fabric and cut. You’ll need two of each to make a double-sided beach towel. Try to align the pattern with the design of the fabric.
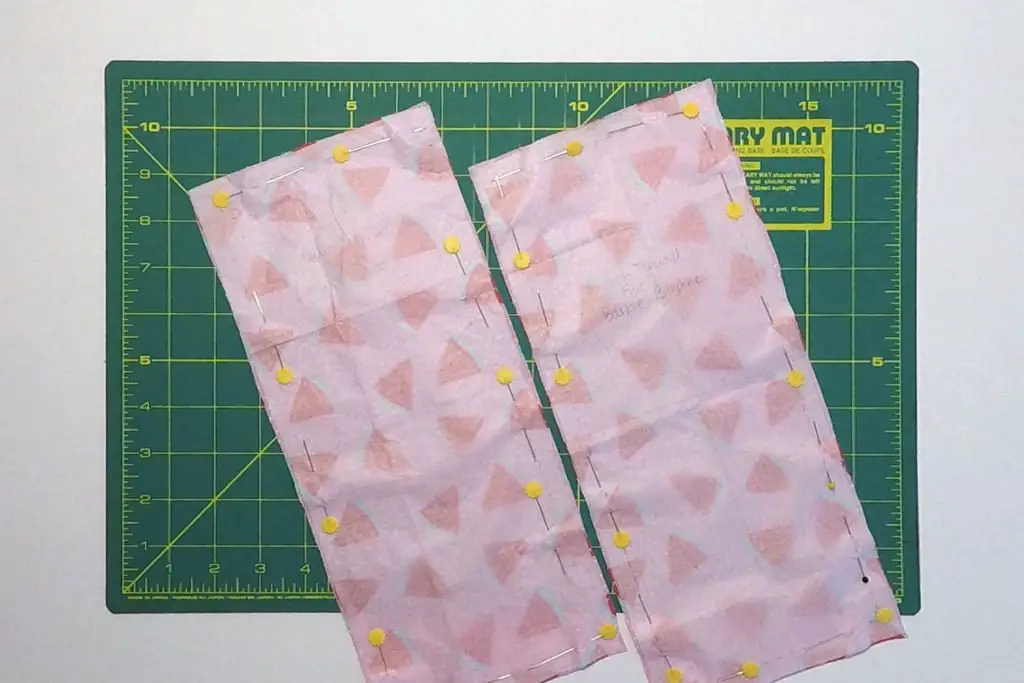
Remove the pins and pattern pieces. Then pin the fabric pieces right sides together.
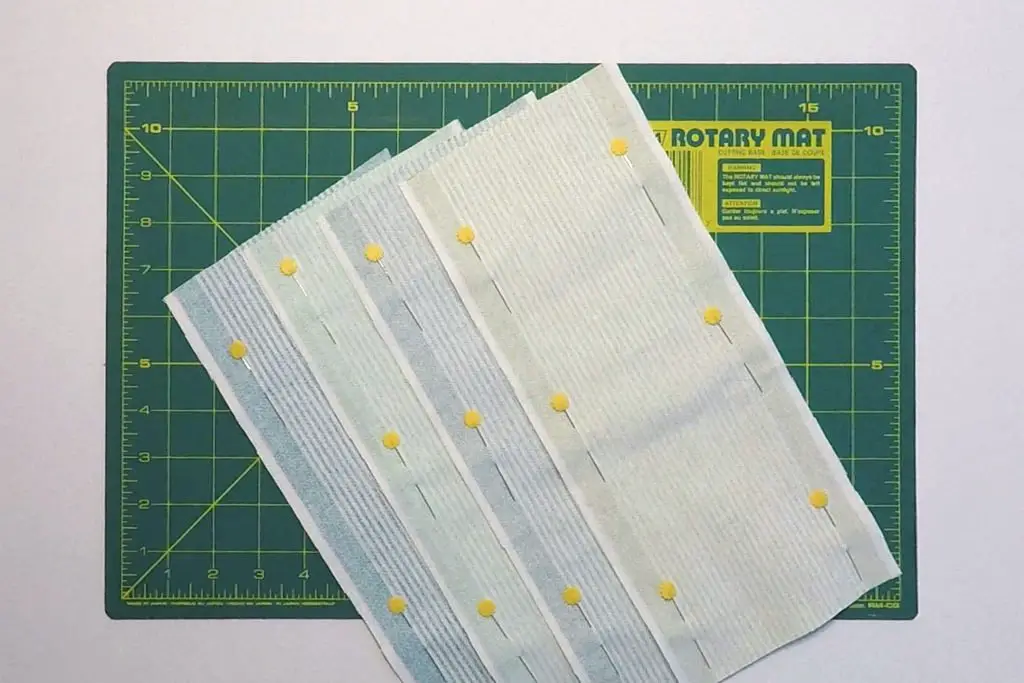
Note: Always be guided by the pattern on your fabric. These stripes were more narrow than my pattern so I followed the width of the fabric instead of the pattern.
Step 5: Sew side seams
With right sides facing, sew side seams together. Leave a 1cm gap from the short edges to allow for folding in the ends in a later step.
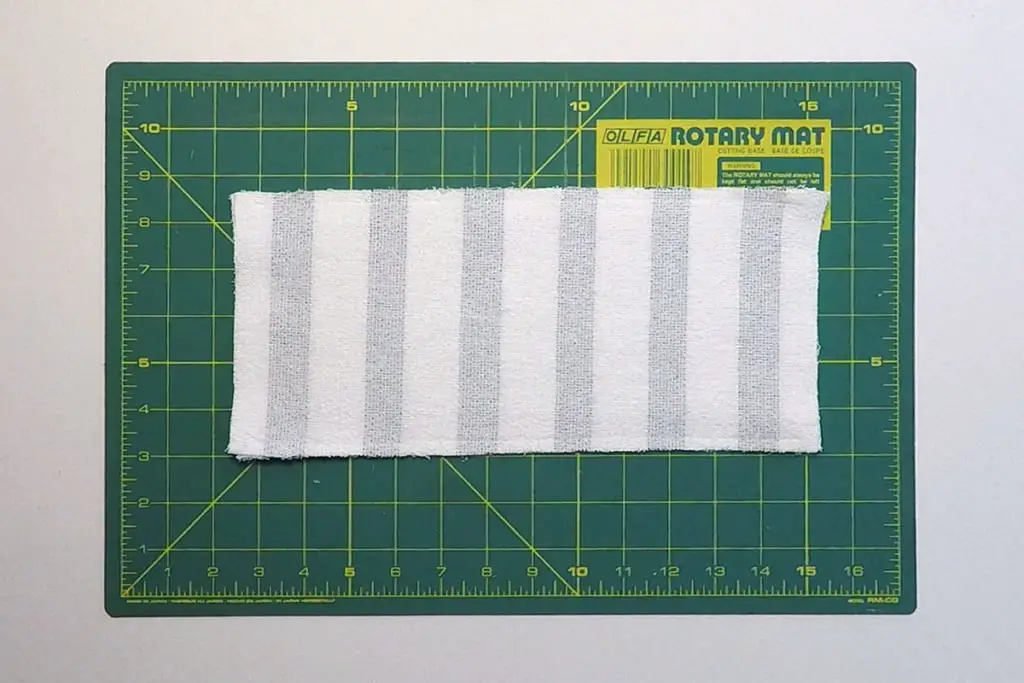
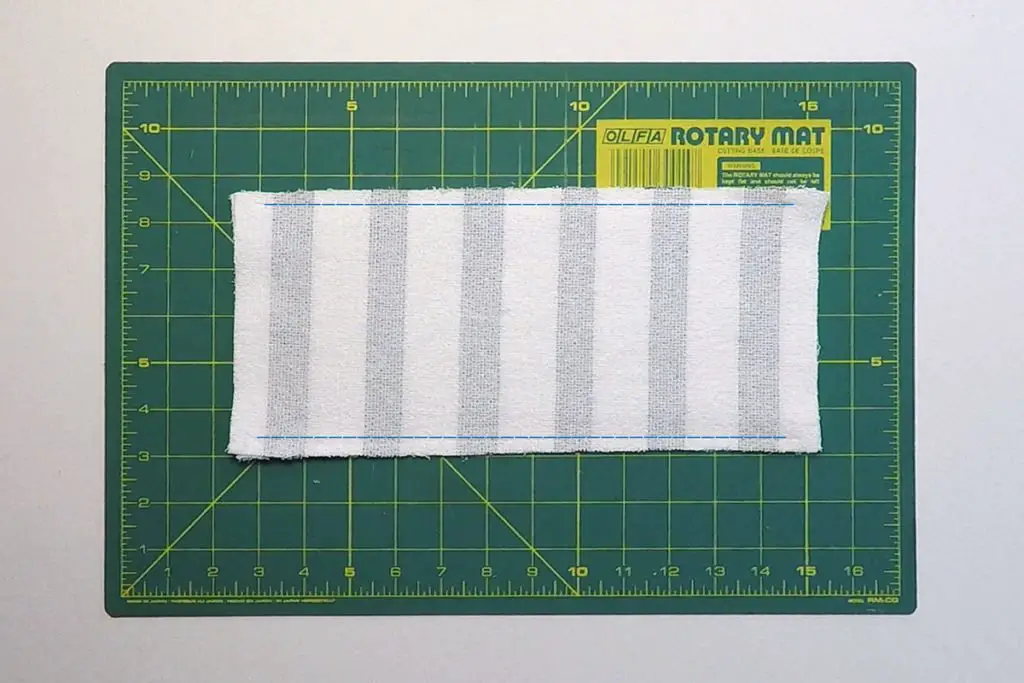
Step 6: Turn right side out
Trim about 0.5cm from the sewing line on the long edges only and turn right side out. Don’t trim the short ends yet as we’ll be folding them in. Iron seams flat.
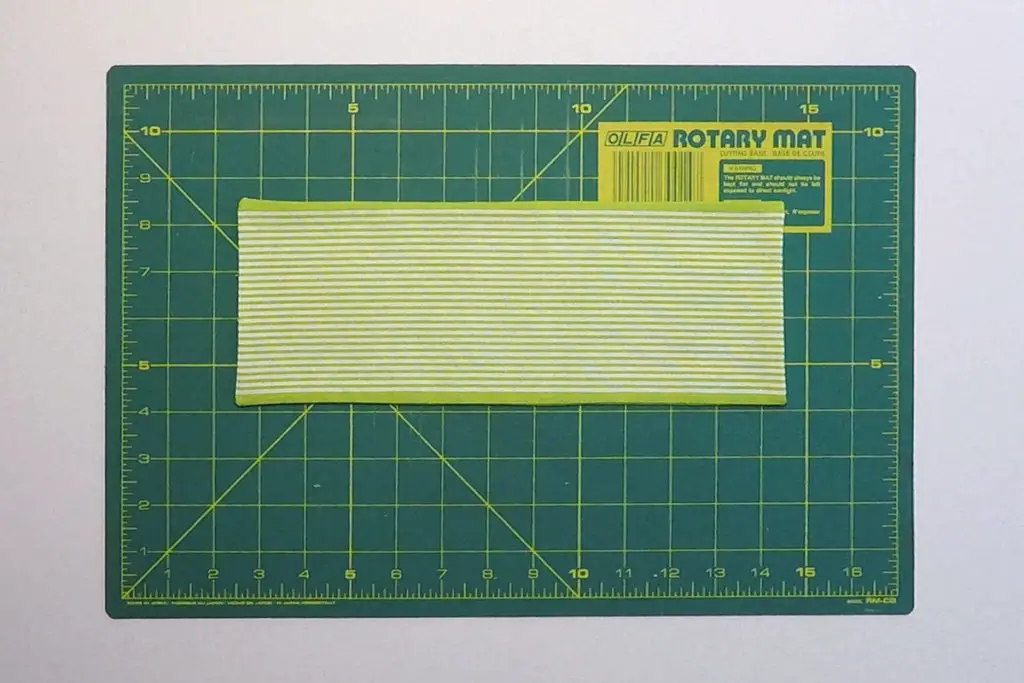
Step 7: Decide on your finishing trim
Now you need to decide which trim you are going to use on your towel. If you are going to use the Custom Fringing or attach a trim, continue to the next step. If you want to use the Fabric Self Fringing trim, go to Step 14. Please note that self-fringing won’t work on knit fabrics so make sure your fabric is woven (ie it has weft and warp threads).
Step 8: Custom Fringing and Trim finish
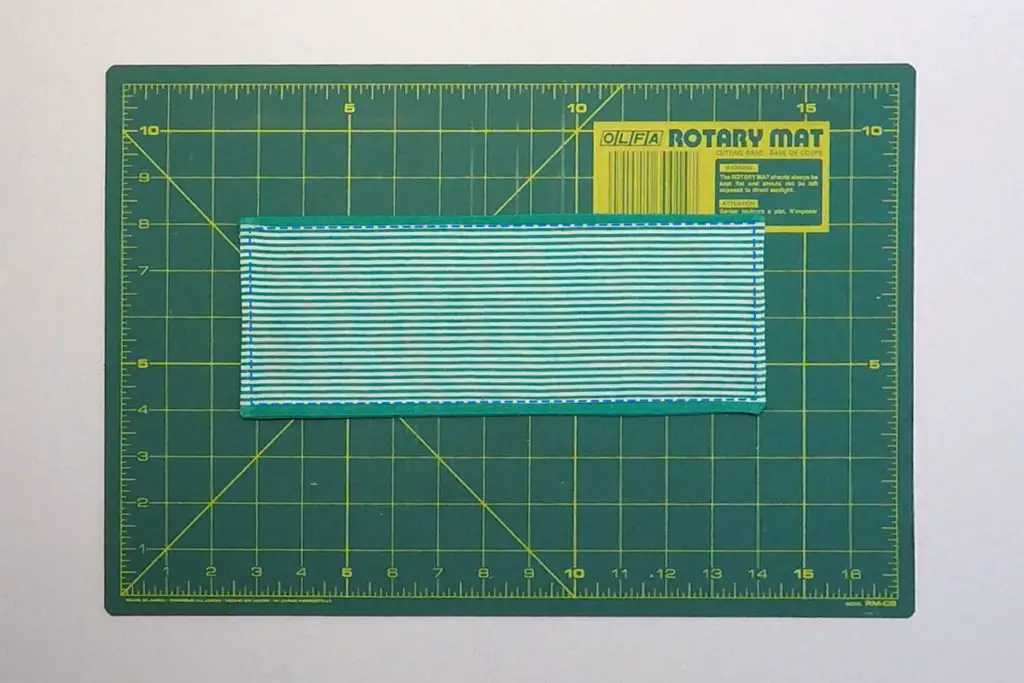
If you are going to use the Custom Fringing finish, or attach a trim to your beach towel, you can now fold the short ends in and top stitch about 0.5cm from edges around all sides.
Step 9: Attaching trim
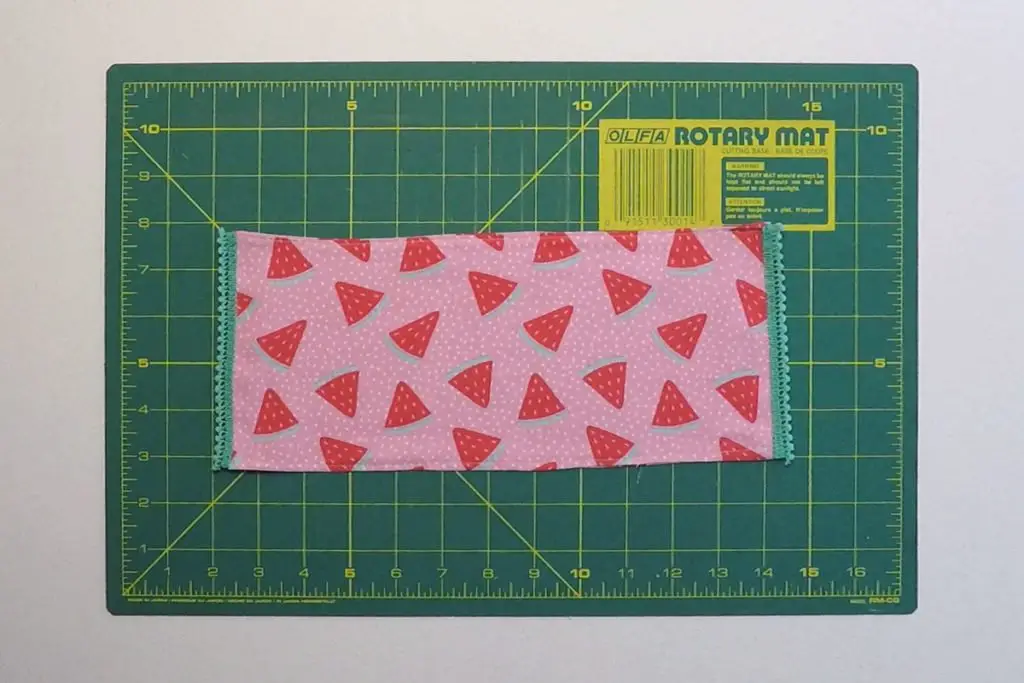
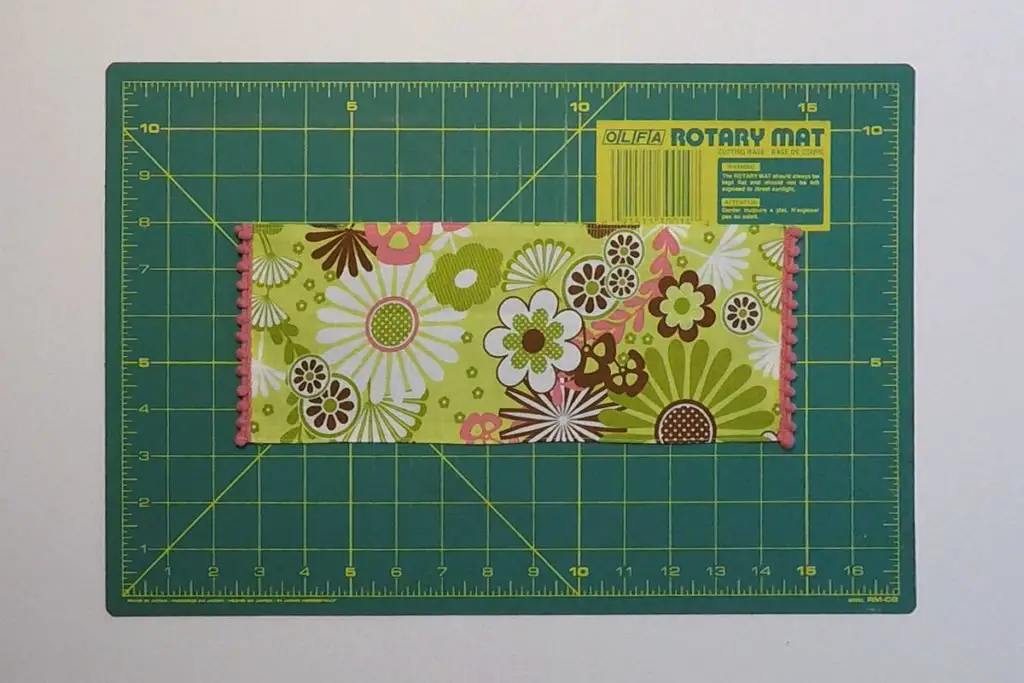
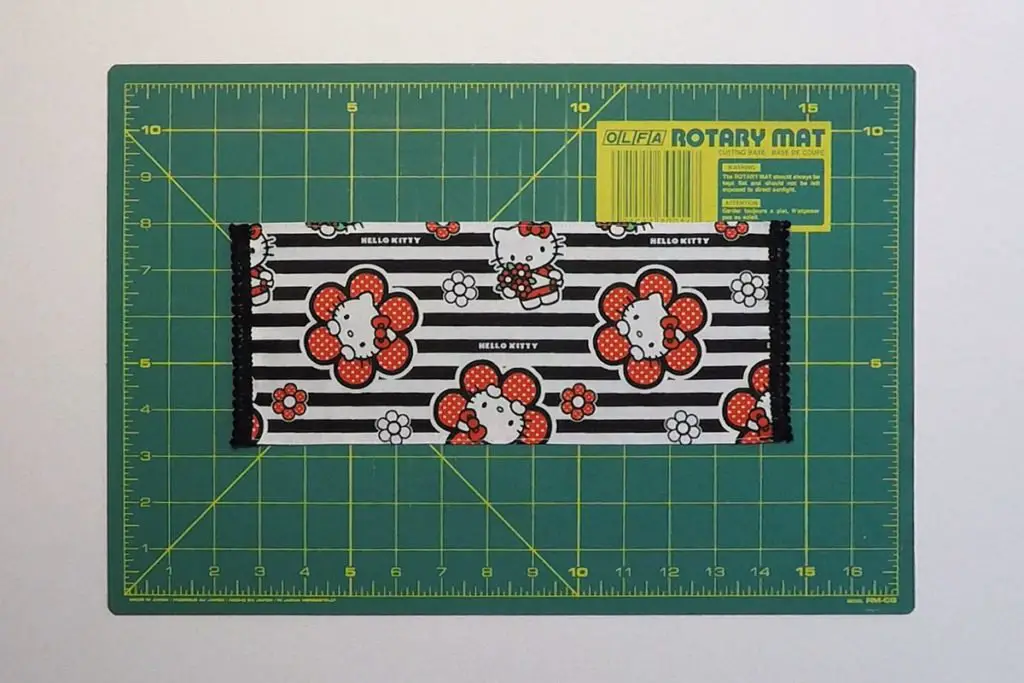
Select your trim and attach it to the short ends, either with hand sewing or by machine. I chose to sew mine by hand. Here are some ideas below:
Step 10: Custom Fringing
What you’ll need:
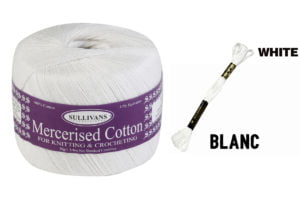
- Crochet cotton in colour of your choice.
- 2 skeins of DMC stranded cotton in colour of your choice.
- A Chenille sewing needle with an eye large enough to thread with the crochet cotton.
- A ruler
- Sharp scissors
Step 11: Sewing ‘the band’
First we need to sew ‘a band’ of stitches to thread the fringing through. Thread your needle with the crochet cotton, about 30cm in length, and work a row of running stitch. Turn back and work running stitch in the gaps left by the first round.
I sewed through both pattern pieces so the towel would be fully reversible but you can choose to sew through only one layer and fringe only on one side. It will save you time and thread that way.
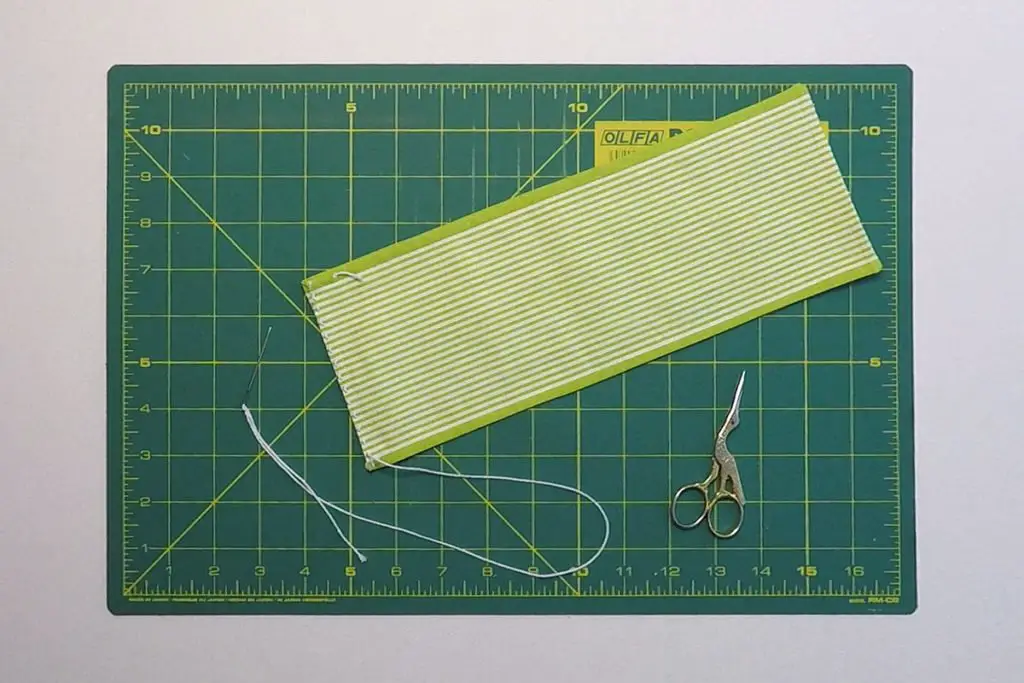
Repeat so you have two rows of running stitch on each end.
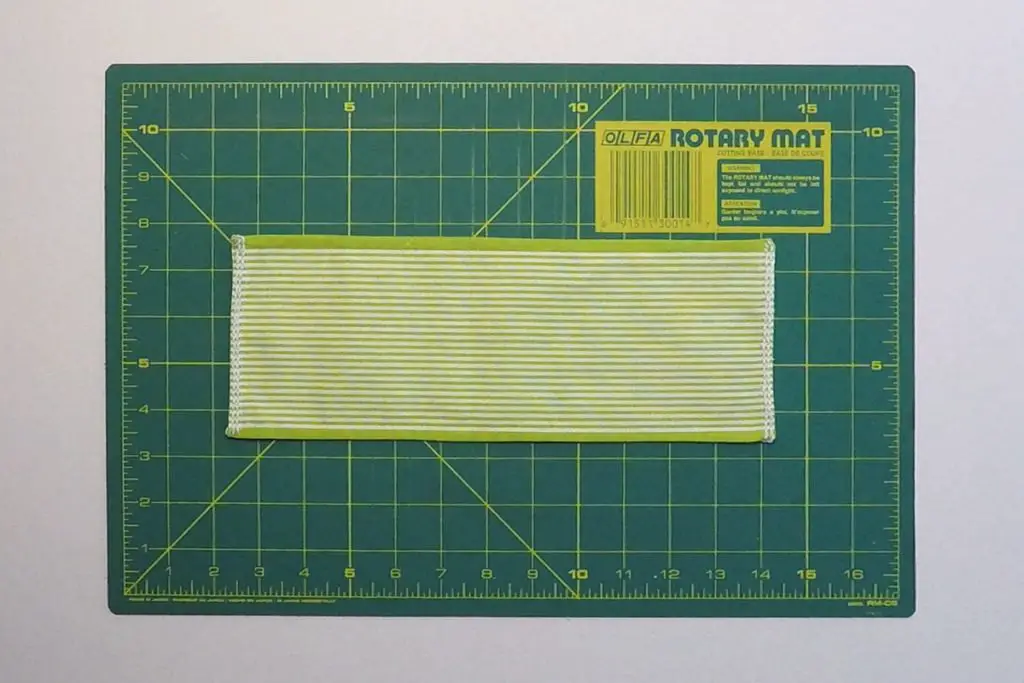
Step 12: Threading the fringe
Now we’ going to start threading the fringe. Thread 6 strands of the stranded cotton through your Chenille needle. I used a 30cm length. Weave the needle and thread under the first running stitch in both rows, leaving about 5cm hanging out. Weave the needle and thread back through the second running stitch in both rows and cut 5cm from the edge.
Repeat in the third and fourth stitches, and so on.
To make our fringing nice and thick and lux looking, weave the needle and thread into the ‘inbetween’ stitches, i.e. between the second and third stitches, between the fourth and fifth stitches, etc.
Do this on both ends of the towel.
If you sewed through both sides of the towel you’ll need to turn it over and repeat on the other side. It gives it a lovely thick and lux appearance to do both sides.
Step 13: Neatening the fringe
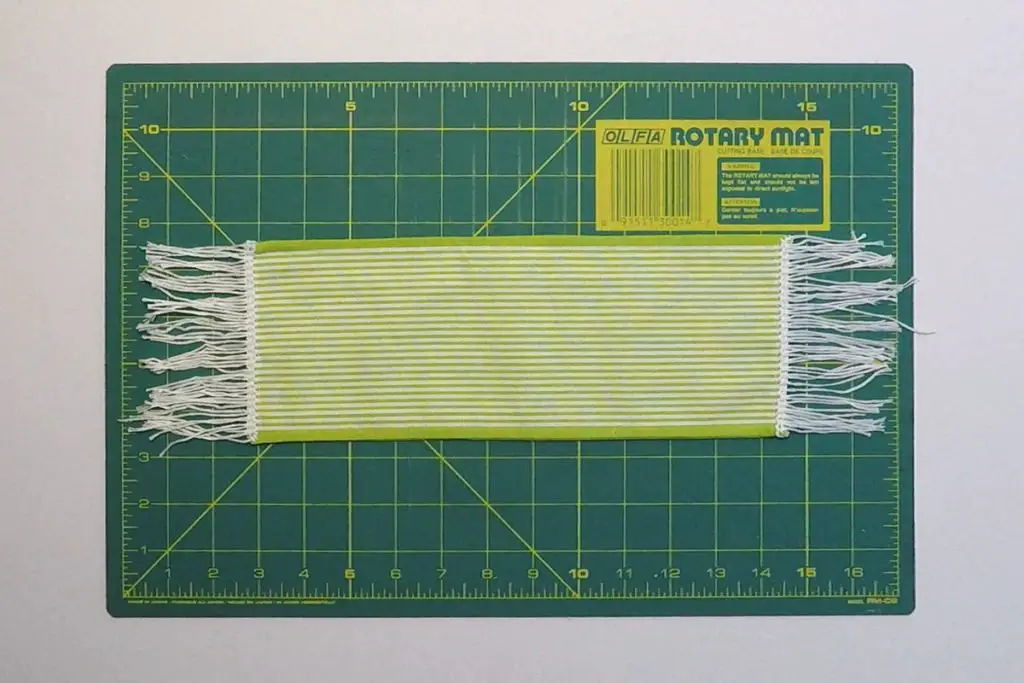
After threading the fringe, arrange the threads as neatly as possible and iron them flat. I used a hot steam iron which helped to secure the fringing a little, as well as smoothing it out.
Take your sharp scissors and trim the fringing to about 2.5cm long on both ends.
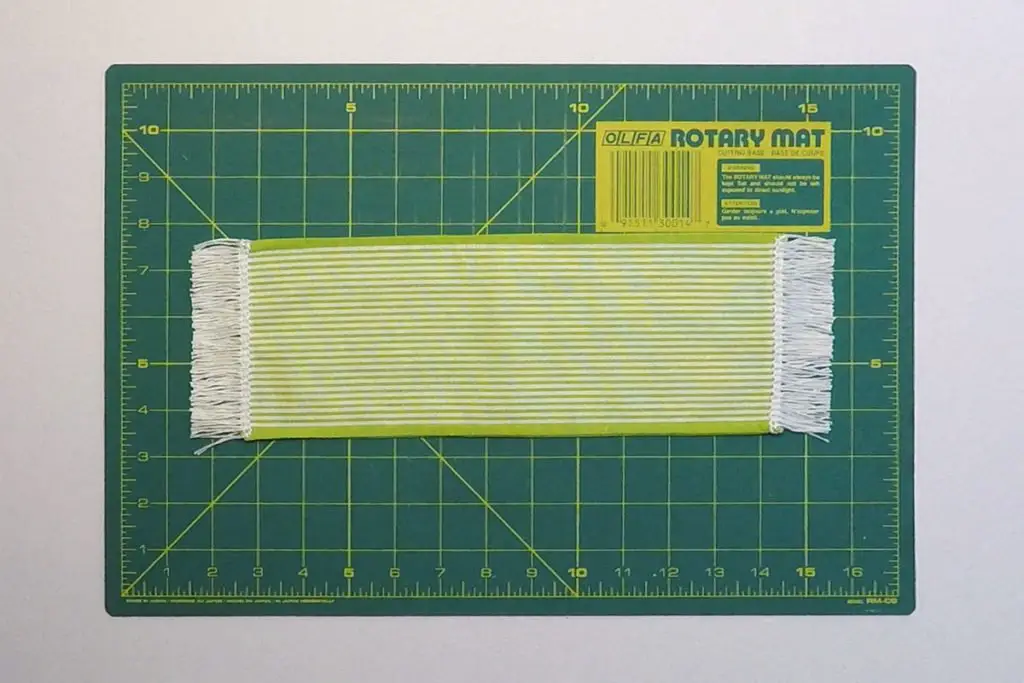
Step 14: Self-fringing
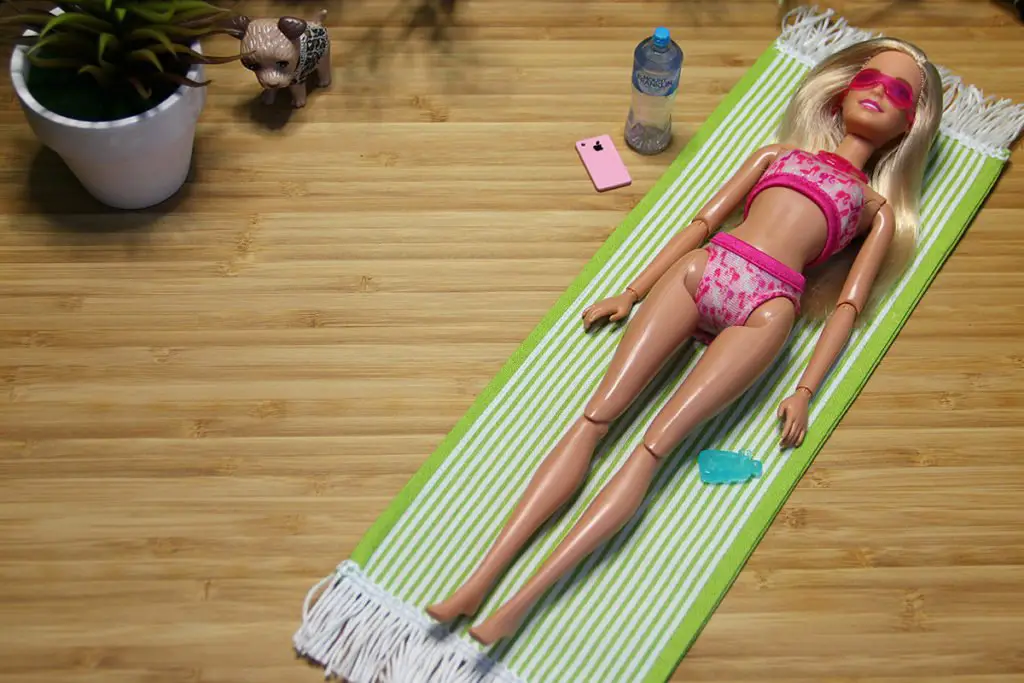
If your fabric is woven, you can just remove some of the horizontal threads to create fringed ends.
After turning the towel right side out, top stitch around all the edges: 0.5cm from the edge on the long ends, 1cm-2cm on the short ends.
Take a pin, or stitch remover, and gently pull out the horizontal threads. Be careful not to pull out a vertical thread or you’ll end up with stripes down the length of your towel.
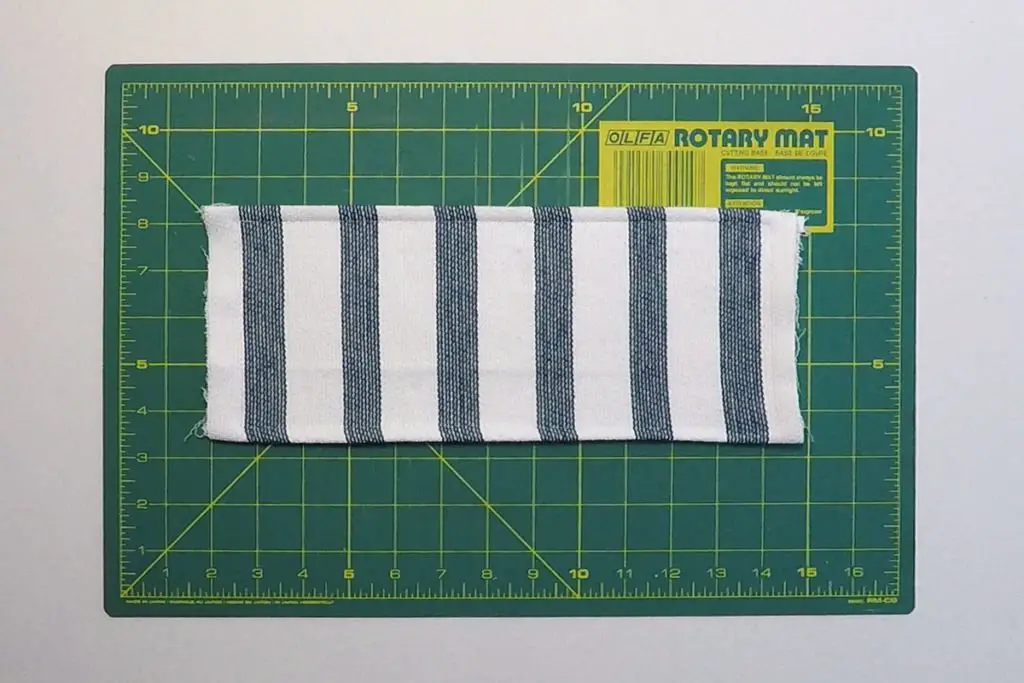
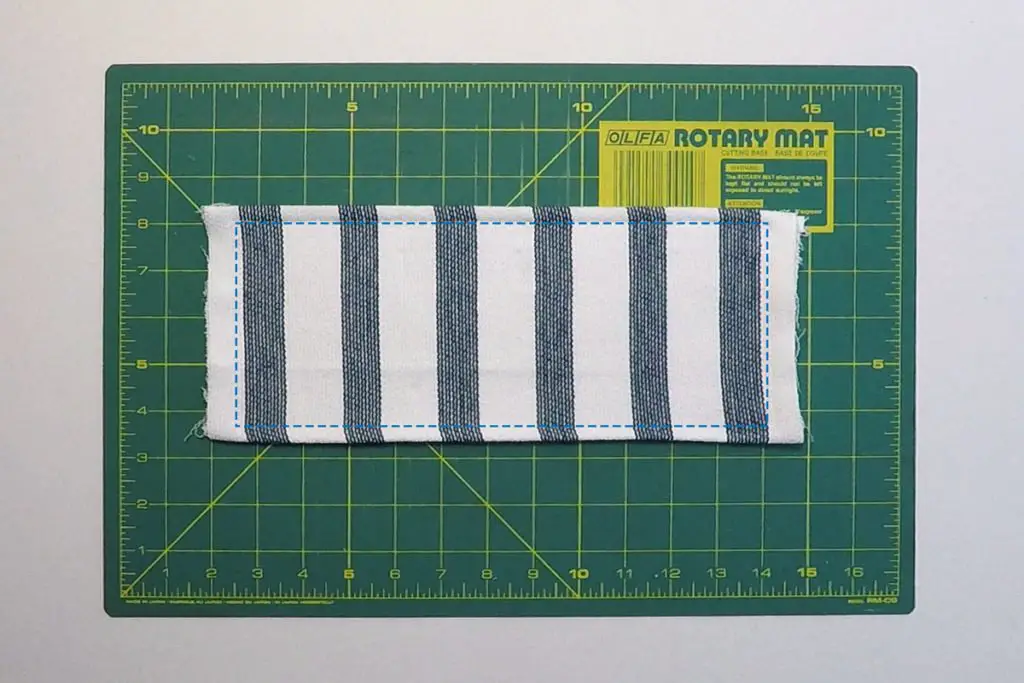
Once you’ve remove enough threads to create a fringe, trim it and iron your towel.
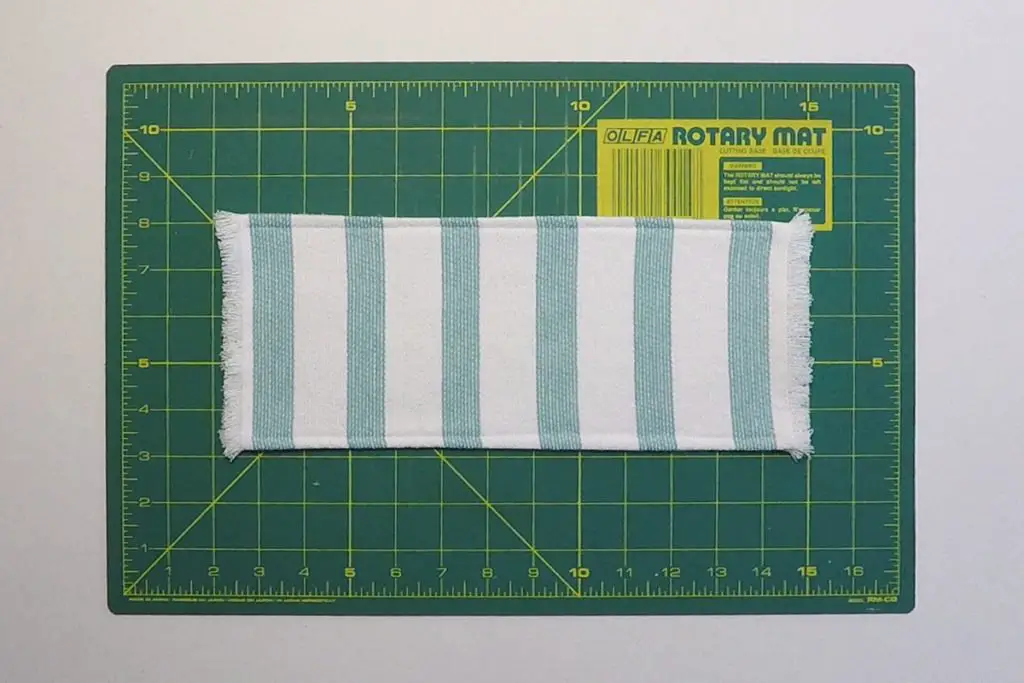
Step 15: Let the Summer fun begin!
Yay! You’ve finished. Now it’s time to relax and Barbie can enjoy your new creation in the Barbie dreamhouse.
