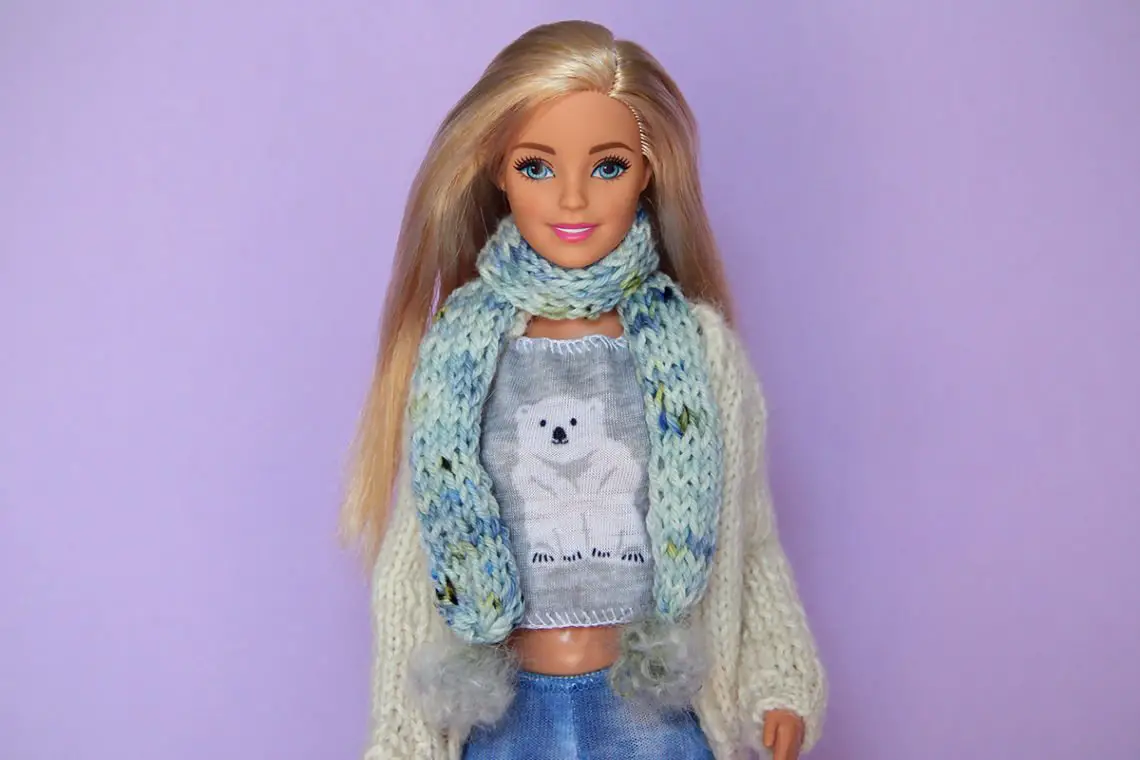
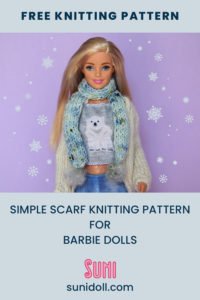
Simple scarf knitting pattern for Barbie dolls
This simple scarf knitting pattern is quick and easy to make. Knit in stockinette stitch with some slipped stitches for neat edges, it’s a great beginner knitting pattern. I’ve decorated my scarf with detached bobbles instead of pompoms. They are also quick and easy to make and use a less yarn than pompoms do.
Although I’ve made my scarf for my Barbie dolls, I’m sure you could make it for Blythe as well.
The inspiration for this pattern came from Purl Soho’s Two-Tone Pom Pom Scarf (free pattern). I kept it simple and replaced their rib stitch with stockinette. I also didn’t worry about doing a provisional cast on as it was easier to just gather up the 10 stitches we need.
The scarf has a nice rolled in edge on each side so it forms a slim, but squishy, scarf. I would recommend using a merino type yarn to ensure the edges do roll in (I tried a recycled denim but it was too stiff).
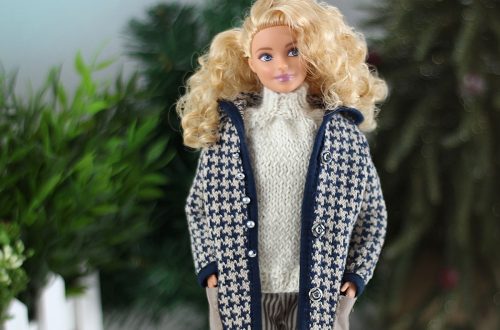
Do you like Barbie’s knitted cardigan? I knitted it using my reversible sweater/cardigan pattern you can purchase on Etsy here. I also have a blog post and video tutorial that provides an overview on how to knit it in one piece – no attaching tiny sleeves!
Materials you’ll need for the scarf
A small amount of fingering weight/4ply yarn. I used a hand-dyed sock yarn from Blackwattle Fibres called ‘Mallee’.
Knitting needles: 4mm (US 6). The recommended needle size for the yarn I used was 3.25mm (US 3) but I wanted my scarf to have a nice drape so I went up to 4mm.
Tapestry needle, for weaving in ends.
Scissors for cutting yarn.
See the end of this post for instructions on how to make the bobbles and materials you’ll need.
Gauge
The published gauge of the Mallee yarn is 28sts per 10cm (4”) on needle size 2.25-3.25mm (US 1-3)
The gauge isn’t that important and you could certainly experiment with using chunkier or finer yarn and needles.
Let’s get into the pattern!
Simple Scarf Knitting Pattern
CO 10sts, leaving a 10cm (4”) tail. You can use a provisional cast on but I just used normal cable cast on method as we have so few stitches we can gather them up with a tapestry needle.
Row 1 (RS): knit to last st, kbl*.
Row 2 (WS): slip 2sts purlwise with yarn in front (one at a time), purl to last 2 sts, slip 2sts purlwise with yarn in front (one at a time).
Row 3: knit to end.
Repeat rows 2 and 3 until work measures 25cm (10”) or desired length. End on a Row 2.
Don’t bind off. Instead, cut a 10cm (4”) tail of yarn and thread onto a tapestry needle. With the right side of your scarf facing you, thread yarn tail through each stitch from right to left. Bring the tail across front of work and thread through each stitch once more from right to left. Slip stitches off needles, pull tight, and secure tail. Weave in ends on back of work. Repeat for the cast on edge.
Notes:
*You can just knit across Row 1 but I find knitting through the back loop of the last stitch here makes for a neater stitch.
Save to Pinterest:
Making the bobbles
As mentioned, I chose to decorate my scarf with bobbles instead of pompoms. Skip this section if you choose to use pompoms. I don’t have instructions on how to make miniature pompoms (yet).
Materials you’ll need
A small amount of yarn, ideally fluffy or with lots of ‘halo’. Mohair yarns are good, such as Debbie Bliss’s Angel. You can make the bobbles with yarn held double for extra poofiness and/or to increase size.
I used Jo Sharp’s Rare Comfort Infusion Kid Mohair on 5mm needles (the recommended size).
Tapestry needle, for weaving in ends.
Scissors for cutting yarn.
Gauge
The published gauge of the Kid Mohair is 17sts/25rows per 10cm (4”) on 5mm needles.
The gauge isn’t that important and you could certainly experiment with using chunkier or finer yarn and needles.
Instructions
Create a slip knot and insert onto your needles. We’ll refer to this as our ‘stitch’.
Row 1: kfb twice into the stitch, then k1 into it again (5sts)
Row 2: k5
Row 3: p5
Row 4: k5
Row 5: p5
Row 6: sl 1, k1, psso, k2tog, k1 (3sts)
Cut yarn, leaving a long tail again. Using a tapestry needle, thread yarn tail through remaining 3 sts, pulling tightly. Tie the yarn tails together tightly to form a bobble. I tied my bobbles so the wrong ‘bumpy’ side is on the outside.
Use a tapestry needle to attach the bobbles to each end of the scarf. Tie tails in a knot and then thread the through the bobble itself and trim them flush.
If you want to neaten up your bobbles you can do a little needle felting.
I hope you enjoy making this pattern and I’d love to see your creations. Please tag me on instagram using @sunidoll and/or hashtag #sunidoll.